PlastiDip Your Tesla Wheels: A 10-Step Guide
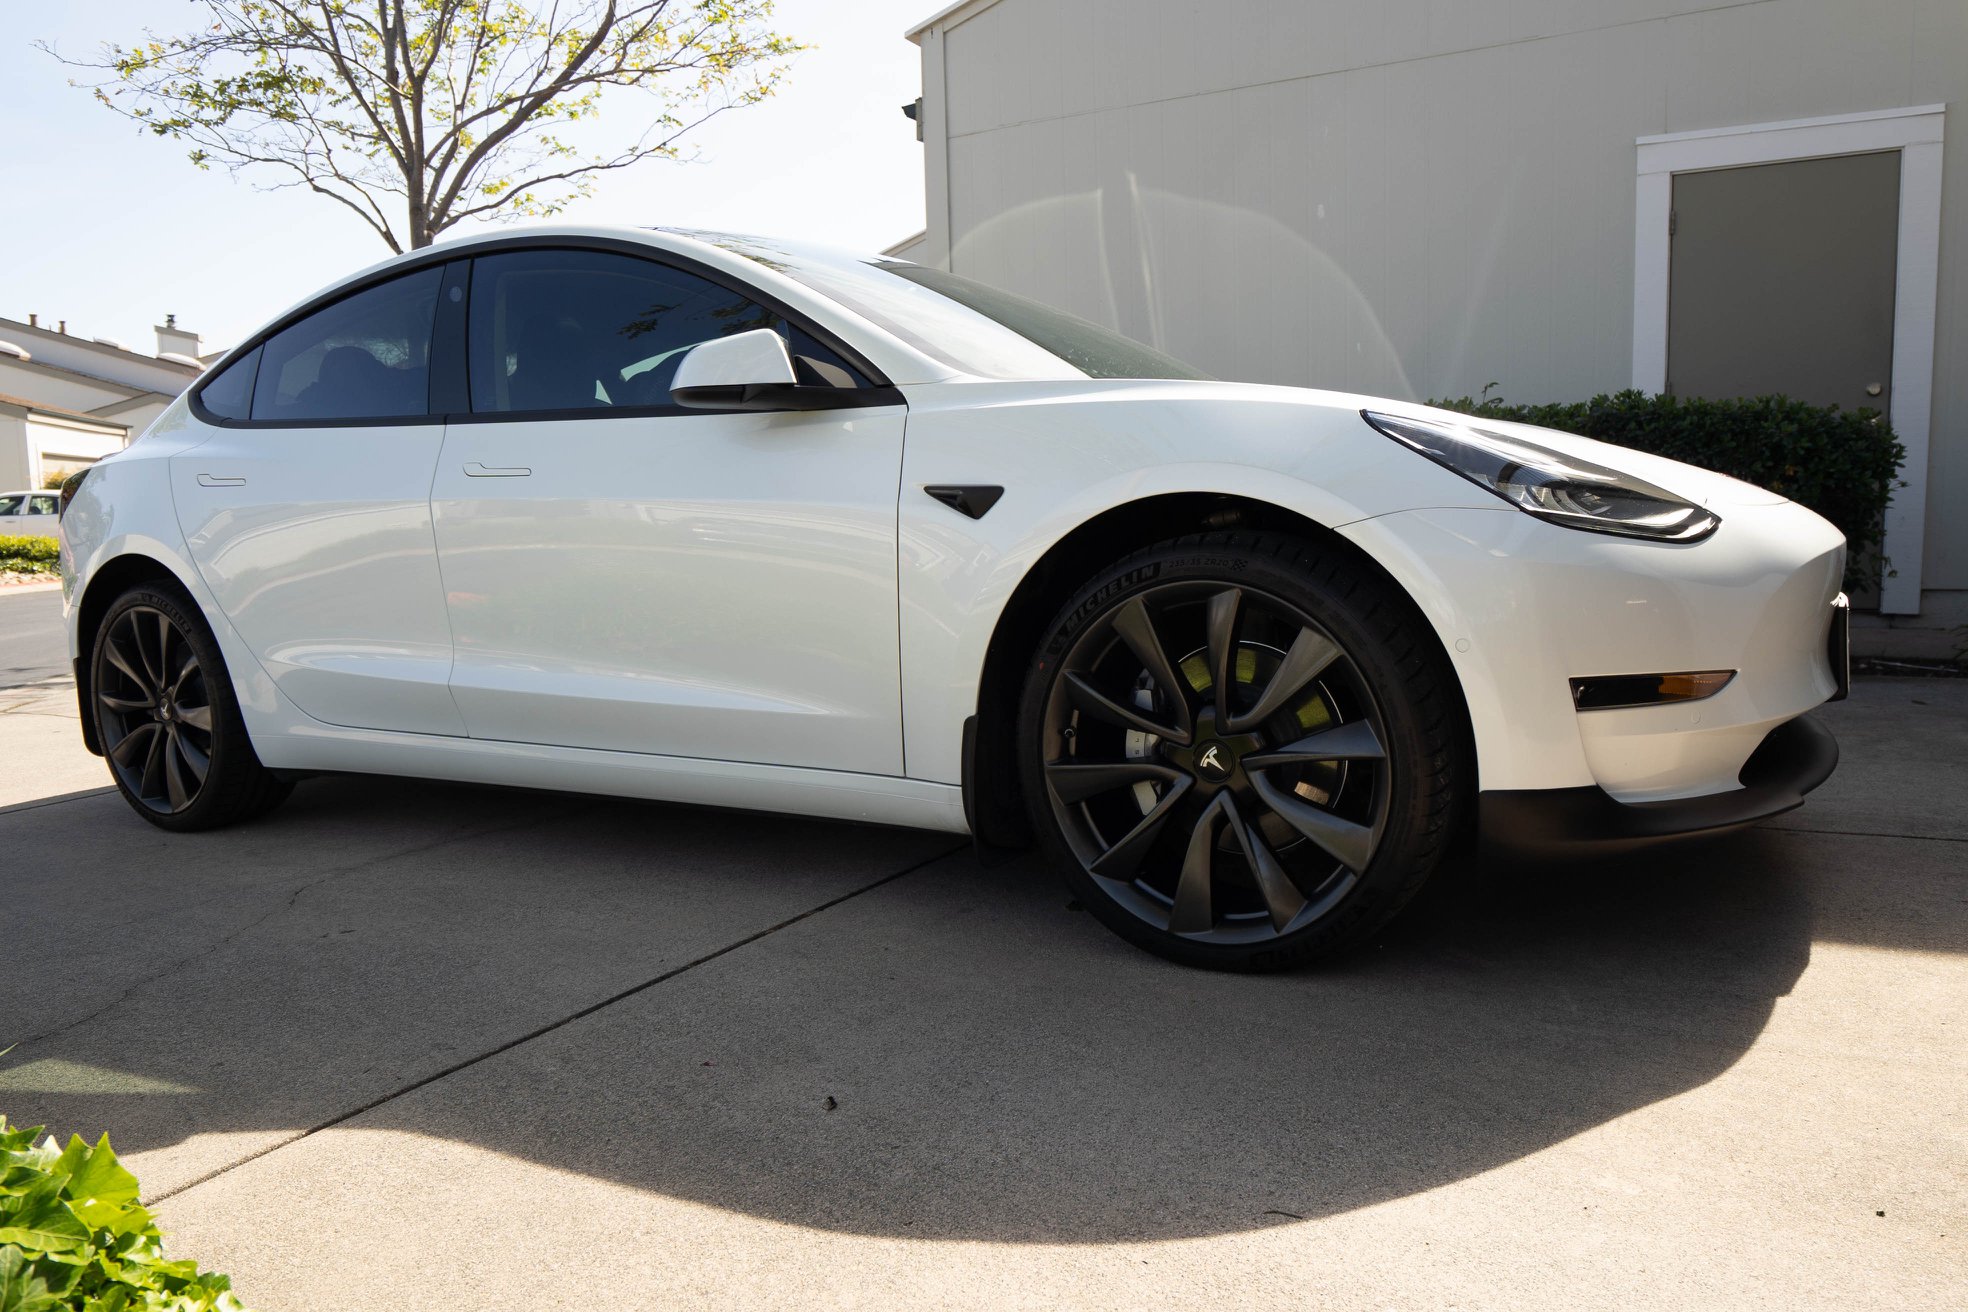
I sold my 20″ Model 3 Performance wheels that were powder coated since I bought some forged Aspira wheels. But I needed to have some spare wheels that would clear my Model 3 Performance rear calipers.
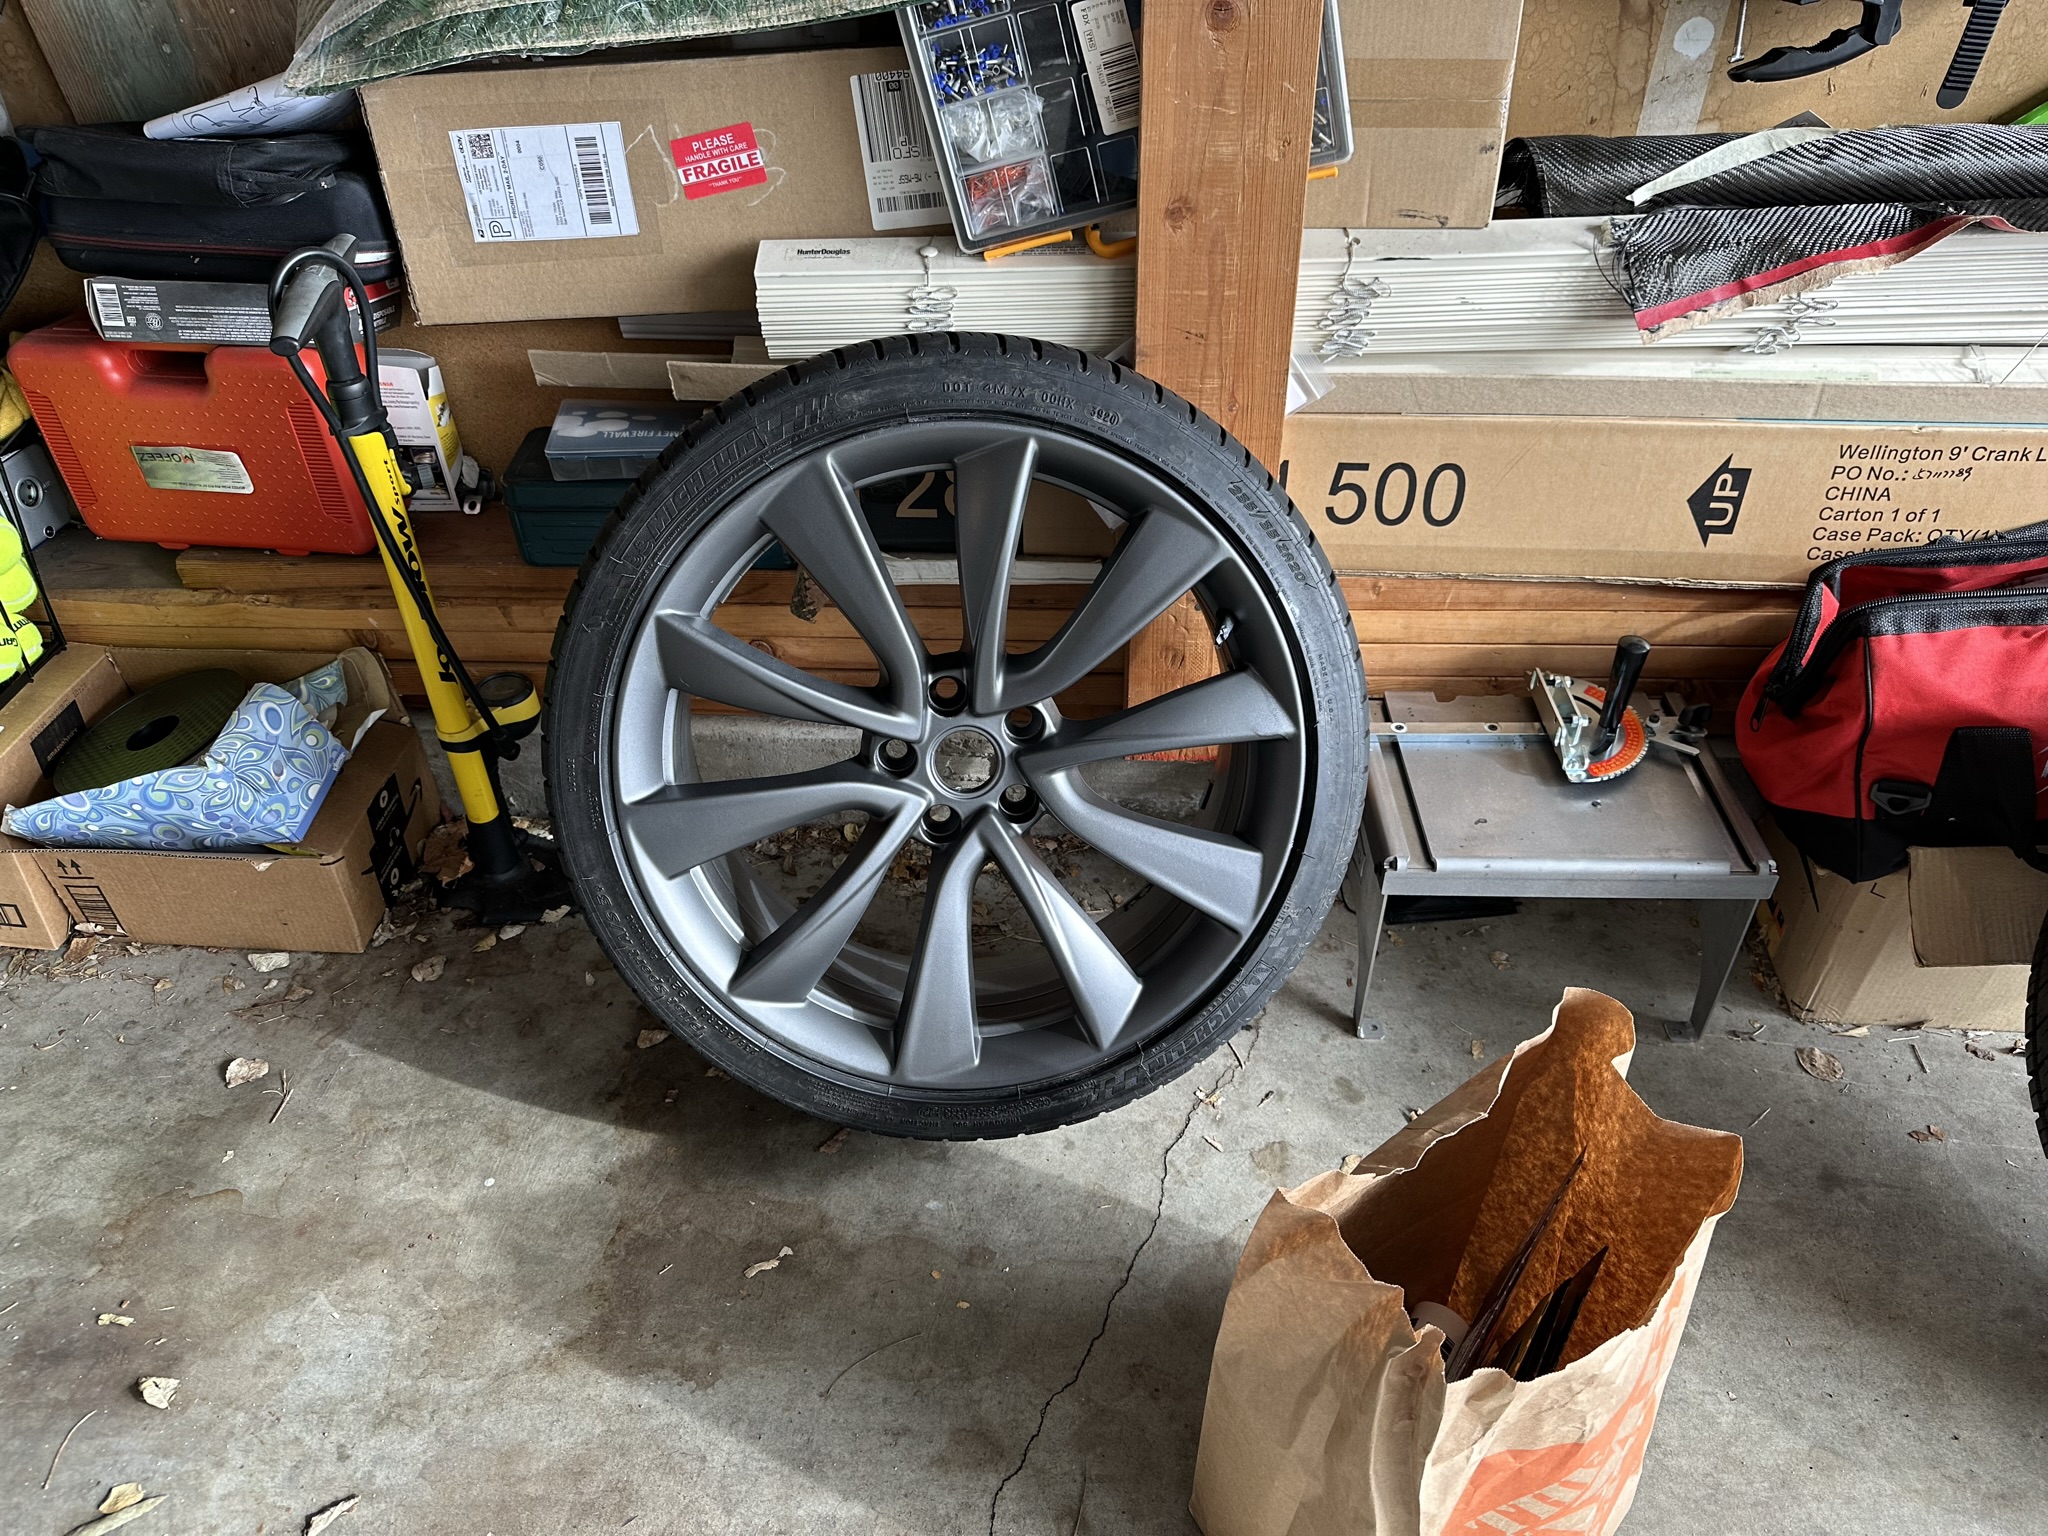
So I found some cheap 2018+ Model 3 Performance sport wheels that needed some TLC.
PlastiDipping your car wheels is a popular and cost-effective way to customize their appearance. Whether you want to change the color, add a matte finish, or protect your wheels from road debris, PlastiDip offers a versatile solution. In this step-by-step guide, we’ll walk you through the process of PlastiDipping your car wheels, ensuring a professional-looking finish.
Materials Needed:
- Plastidip Anthracite Grey spray cans (number of cans depends on the size of your wheels and the desired finish)
- Wheel cleaner and degreaser
- Masking tape
- Plastic bags or garbage bags
- Plastic sheeting or newspaper
- Microfiber towels or lint-free cloths
- Jack and jack stands
- Wheel cleaner brush
- Gloves
- Respirator or mask for personal protection
Step 1: Prepare Your Work Area
Before you begin, find a well-ventilated and dust-free space to work. PlastiDip is sensitive to contaminants, so a clean environment is crucial. Cover the surrounding areas with plastic sheeting or newspaper to protect against overspray.
Step 2: Clean the Wheels
Thoroughly clean your wheels with a wheel cleaner and degreaser. Remove any dirt, brake dust, or grease using a wheel cleaner brush. Ensure that the wheels are completely dry before proceeding.
Step 3: Jack Up the Car
Use a jack to lift the car and secure it with jack stands. Ensure that the car is stable and won’t move during the PlastiDipping process.
Step 4: Mask Off the Tires
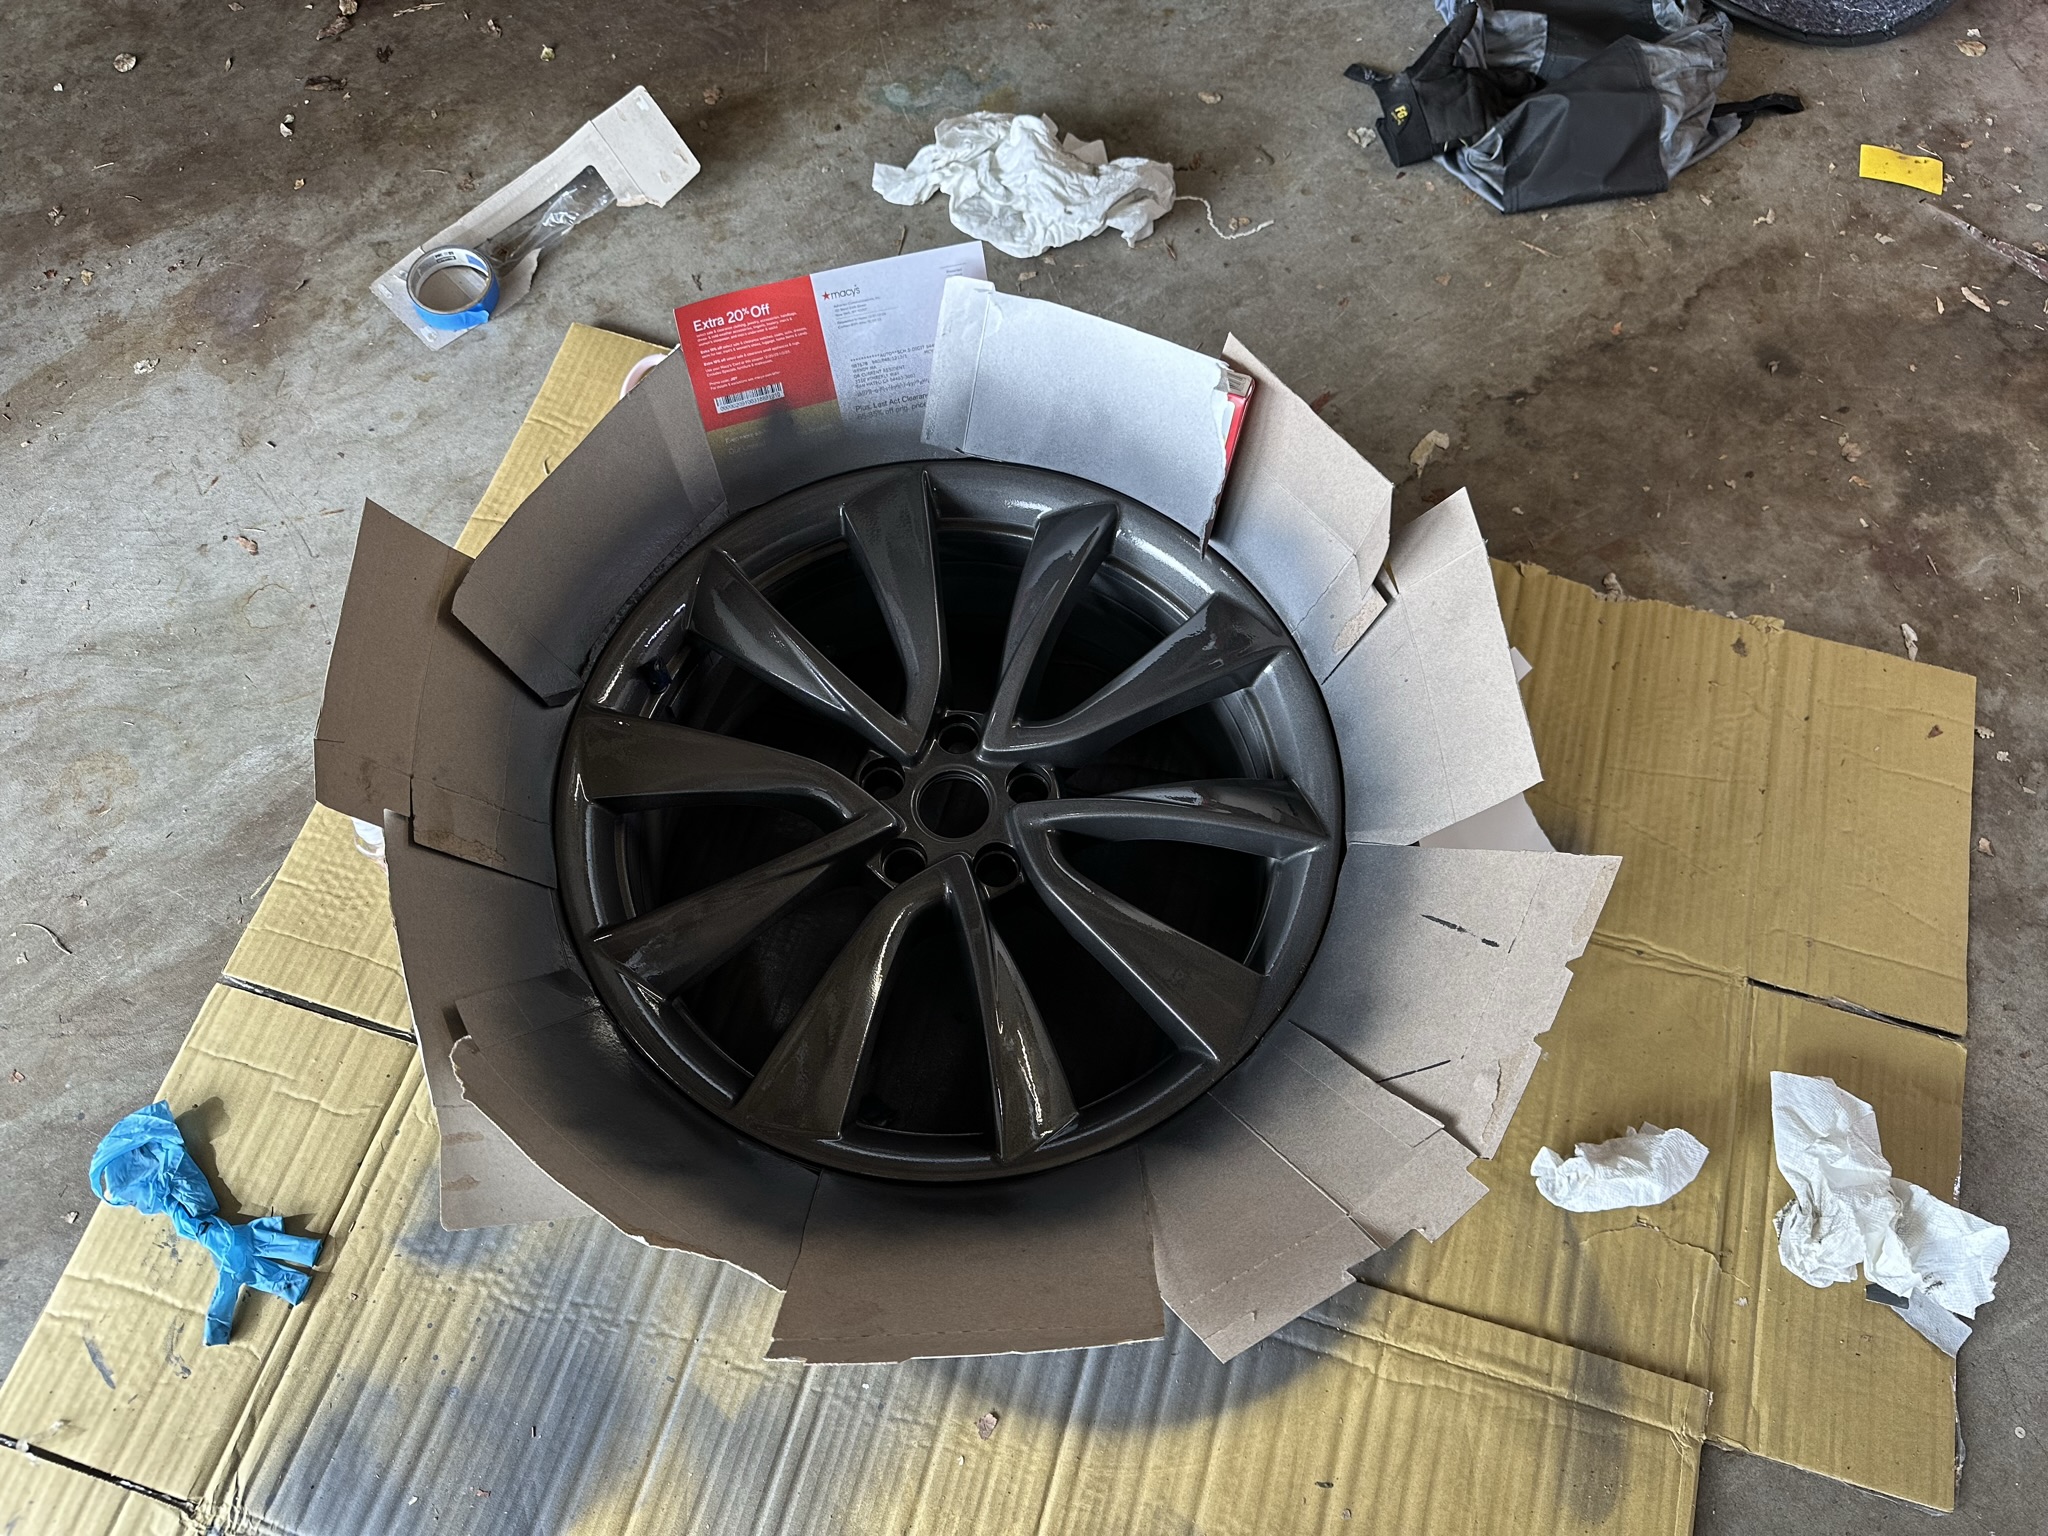
Using masking tape, carefully mask off the tire and any other areas you don’t want to be coated with PlastiDip. Cover the tire surface with plastic bags or garbage bags, securing them with tape to protect them from overspray.
Step 5: Test Spray
Before applying PlastiDip to the wheels, perform a test spray on a small, inconspicuous area. This helps ensure that the spray nozzle is functioning correctly and gives you a feel for the spraying distance.
Step 6: Apply the First Coat
Hold the PlastiDip spray can about 6-8 inches away from the wheel’s surface and apply the first light coat. Start spraying away from the wheel, then move across the surface in a sweeping motion. Allow the first coat to dry for about 15-30 minutes.
Step 7: Apply Additional Coats
Repeat the spraying process, applying additional coats until you achieve the desired color and finish. Typically, 4-6 coats are recommended for full coverage. Allow each coat to dry before applying the next one.
Step 8: Peel Off the Overspray
Once the final coat is dry to the touch, carefully peel off the masking tape and plastic bags from the tires. This should be done before the PlastiDip fully cures to ensure clean and smooth edges.
Step 9: Let it Cure
Allow the PlastiDip to cure for at least 24 hours before driving the car. This ensures a durable and long-lasting finish.
Step 10: Reinstall the Wheels
After the PlastiDip has fully cured, lower the car from the jack stands and reinstall the wheels.


